How To Use A Headset Microphone On Pc?
Using a headset microphone on a PC can significantly enhance your audio experience, whether you're gaming, attending virtual meetings, or recording content. However, many users encounter challenges when trying to set up and optimize their headset microphones. This article will guide you through the process, addressing common issues and providing practical solutions to ensure you get the best performance from your headset microphone.
Understanding Your Headset and PC Compatibility
Before diving into the setup process, it's essential to understand the compatibility between your headset and PC. Headsets typically come with one of three types of connectors:
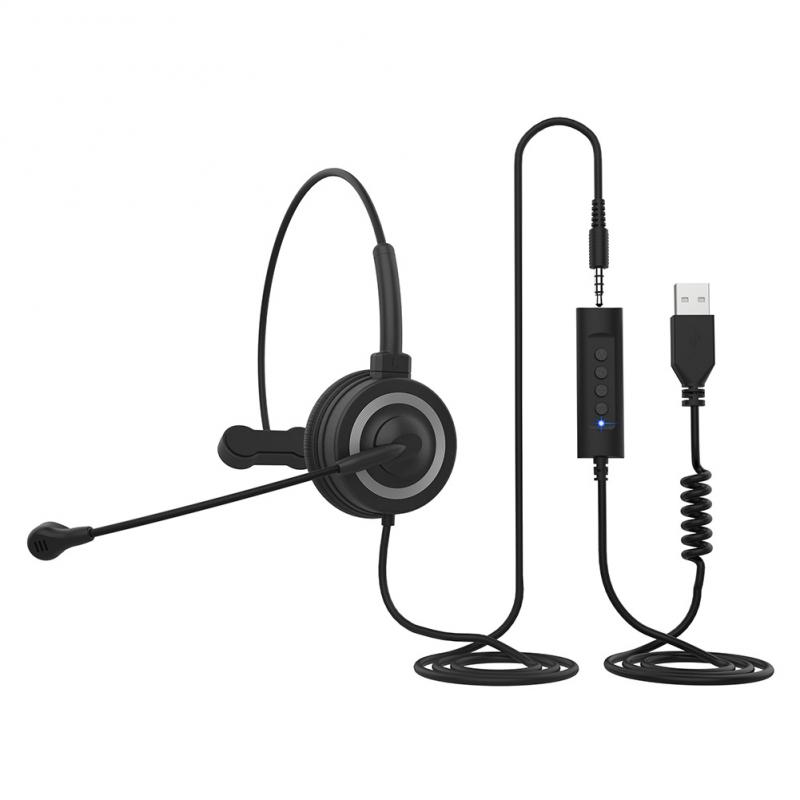
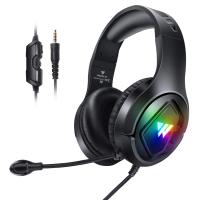
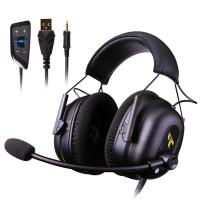
1. 3.5mm Jack: This is the most common type, often color-coded with pink for the microphone and green for the headphones.
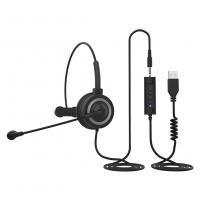
2. USB: These headsets connect via a USB port and often come with their own drivers and software.
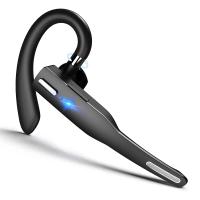
3. Bluetooth: Wireless headsets that connect via Bluetooth require your PC to have Bluetooth capability.
Step-by-Step Guide to Setting Up Your Headset Microphone
1. Connecting the Headset
For 3.5mm Jack Headsets:
- Locate the audio ports on your PC. These are usually on the front or back of the desktop tower or on the sides of a laptop.
- Plug the microphone jack (pink) into the microphone port and the headphone jack (green) into the headphone port. If your headset has a single 3.5mm jack for both audio and microphone, you may need a splitter cable.
For USB Headsets:
- Plug the USB connector into an available USB port on your PC. The system should automatically recognize the device and install the necessary drivers. If not, you may need to download drivers from the manufacturer's website.
For Bluetooth Headsets:
- Ensure your PC's Bluetooth is turned on. Go to Settings > Devices > Bluetooth & other devices.
- Put your headset in pairing mode (refer to the headset's manual for instructions).
- Select "Add Bluetooth or other device" and choose your headset from the list of available devices.
2. Configuring Audio Settings
Once your headset is connected, you need to configure your PC's audio settings to use the headset microphone.
Windows Settings:
- Right-click the sound icon in the taskbar and select "Open Sound settings."
- Under "Input," select your headset microphone from the dropdown menu.
- Click on "Device properties" to adjust the microphone volume and test the microphone.
Control Panel:
- Open the Control Panel and go to "Hardware and Sound."
- Click on "Sound" and navigate to the "Recording" tab.
- Right-click your headset microphone and select "Set as Default Device."
- Click "Properties" to access additional settings, such as levels and enhancements.
3. Testing the Microphone
Testing your microphone ensures that it is working correctly and that the audio quality is satisfactory.
Using Windows Sound Settings:
- In the Sound settings, under "Input," click on "Test your microphone."
- Speak into the microphone and observe the input level. Adjust the volume if necessary.
Using Voice Recorder:
- Open the Voice Recorder app (available in Windows).
- Record a short audio clip and play it back to check the microphone quality.
Troubleshooting Common Issues
Despite following the setup steps, you may encounter issues with your headset microphone. Here are some common problems and their solutions:
1. Microphone Not Detected
- Check Connections: Ensure that all cables are securely connected. For USB headsets, try a different USB port.
- Update Drivers: Go to Device Manager, find your audio device, and update the drivers.
- Enable Microphone: In the Sound settings, ensure that the microphone is not disabled.
2. Poor Audio Quality
- Adjust Levels: In the microphone properties, adjust the levels to ensure the microphone is not too quiet or too loud.
- Disable Enhancements: Sometimes, audio enhancements can degrade quality. Disable them in the microphone properties.
- Check Environment: Ensure you are in a quiet environment to avoid background noise.
3. Echo or Feedback
- Reduce Volume: Lower the volume of your speakers or use headphones to prevent sound from being picked up by the microphone.
- Positioning: Ensure the microphone is positioned correctly and not too close to the speakers.
Advanced Tips for Optimal Performance
For users looking to get the most out of their headset microphones, here are some advanced tips:
1. Use Third-Party Software
Software like Voicemeeter or Equalizer APO can provide more control over your audio settings, allowing you to fine-tune your microphone's performance.
2. Invest in a Sound Card
An external sound card can improve audio quality and provide additional features like noise cancellation and better volume control.
3. Regular Maintenance
Keep your headset clean and free from dust. Regularly check for software updates from the manufacturer to ensure optimal performance.
Setting up a headset microphone on a PC may seem daunting, but with the right steps and troubleshooting tips, you can achieve excellent audio quality. Whether you're using a 3.5mm jack, USB, or Bluetooth headset, ensuring proper connections and configurations is key. By following this guide, you can enhance your audio experience, making your virtual meetings, gaming sessions, and recordings more professional and enjoyable.





There are no comments for this blog.