How To Use Dslr As Webcam?
In the age of remote work, virtual meetings, and online content creation, having a high-quality webcam can make a significant difference in how you present yourself to the world. While most built-in laptop webcams or standalone webcams suffice for basic needs, they often fall short in terms of image quality, especially in low-light conditions. This is where a DSLR camera can come in handy. With superior lenses, larger sensors, and better image processing capabilities, a DSLR can provide a significant upgrade to your video quality. In this article, we will explore how to use a DSLR as a webcam, covering the necessary equipment, software, and steps to get you started.
Why Use a DSLR as a Webcam?
Before diving into the how-to, it's essential to understand why you might want to use a DSLR as a webcam. Here are some compelling reasons:
1. Superior Image Quality: DSLRs offer better resolution, color accuracy, and low-light performance compared to most webcams.
2. Depth of Field: Achieve a professional look with a blurred background, making you stand out in the frame.
3. Lens Flexibility: Use different lenses to achieve various effects and focal lengths.
4. Manual Controls: Adjust settings like ISO, shutter speed, and aperture to get the perfect shot.
Equipment Needed
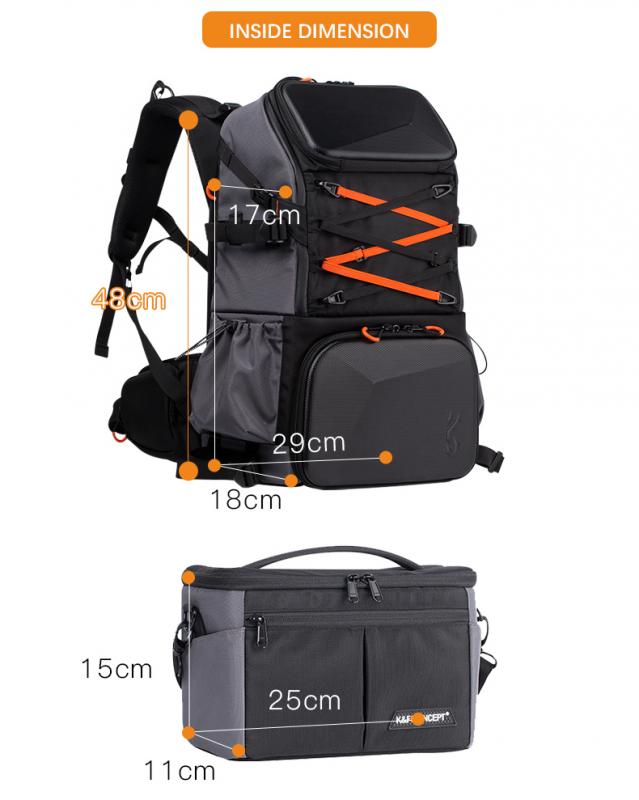
To use your DSLR as a webcam, you will need the following equipment:
1. DSLR Camera: Ensure your camera has a clean HDMI output. Popular models include Canon EOS, Nikon D-series, and Sony Alpha series.
2. HDMI Cable: Connects your DSLR to a capture device.
3. HDMI Capture Device: Converts the HDMI signal from your camera to a USB signal that your computer can recognize. Examples include Elgato Cam Link and AVerMedia Live Gamer.
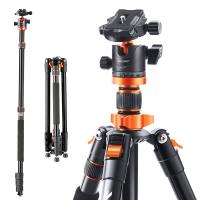
4. Tripod or Mount: To position your camera at the desired angle.
5. Power Supply: An AC adapter or dummy battery to keep your camera powered during long sessions.
6. Software: Webcam utility software provided by your camera manufacturer or third-party applications like OBS Studio.
Step-by-Step Guide
Step 1: Set Up Your Camera
1. Clean HDMI Output: Ensure your camera can output a clean HDMI signal, meaning no overlays like focus points or battery indicators. Check your camera's manual for instructions.
2. Settings: Adjust your camera settings for optimal video quality. Set the resolution to 1080p and frame rate to 30fps or 60fps. Disable auto-shutdown features to prevent the camera from turning off during use.
3. Lens: Choose a lens that suits your needs. A 35mm or 50mm prime lens is often ideal for webcam use.
Step 2: Connect the Camera to the Capture Device
1. HDMI Cable: Connect one end of the HDMI cable to your camera's HDMI output port.
2. Capture Device: Connect the other end of the HDMI cable to the HDMI input port on the capture device.
3. USB Connection: Plug the capture device into a USB port on your computer.
Step 3: Power the Camera
1. AC Adapter: If your camera supports an AC adapter, plug it in to ensure continuous power.
2. Dummy Battery: Alternatively, use a dummy battery that connects to an external power source.
Step 4: Install and Configure Software
1. Webcam Utility: Download and install the webcam utility software provided by your camera manufacturer. Canon, Nikon, and Sony offer free software for this purpose.
2. Third-Party Software: If your camera manufacturer does not provide software, use third-party applications like OBS Studio. Add a new video capture source and select your capture device from the list.
3. Settings: Adjust the software settings to match your camera's output resolution and frame rate.
Step 5: Test and Fine-Tune
1. Preview: Open your video conferencing or streaming application and select your DSLR as the video source.
2. Adjustments: Make any necessary adjustments to the camera settings, such as focus, exposure, and white balance.
3. Audio: If your DSLR does not have a built-in microphone, use an external microphone for better audio quality.
Troubleshooting Common Issues
1. No Signal: Ensure all cables are securely connected and that your camera is set to the correct HDMI output mode.
2. Overheating: DSLRs are not designed for continuous video output and may overheat. Use an external fan or take breaks to cool down the camera.
3. Lag or Delay: Check your computer's USB ports and ensure they are USB 3.0 for faster data transfer. Close unnecessary applications to free up system resources.
Additional Tips
1. Lighting: Good lighting can significantly improve video quality. Use softbox lights or ring lights to illuminate your face evenly.
2. Background: Choose a clean, uncluttered background or use a green screen for virtual backgrounds.
3. Framing: Position the camera at eye level and use the rule of thirds to create a balanced composition.
Using a DSLR as a webcam can elevate the quality of your video calls, streams, and recordings, making you look more professional and polished. While the initial setup may require some investment in equipment and time, the results are well worth it. By following the steps outlined in this guide, you can transform your DSLR into a high-quality webcam and stand out in the digital world. Whether you're a remote worker, content creator, or just someone who wants to look their best on video calls, this setup will help you achieve your goals.


