How To Use Lavalier Microphone?
Lavalier microphones, often referred to as lapel mics, are small, clip-on microphones that are commonly used in television, theater, and public speaking to provide hands-free operation. They are particularly popular for their discreet size and ability to capture clear audio without being obtrusive. In this article, we will delve into the practical aspects of using a lavalier microphone, covering everything from selection and setup to troubleshooting and best practices.
Understanding Lavalier Microphones
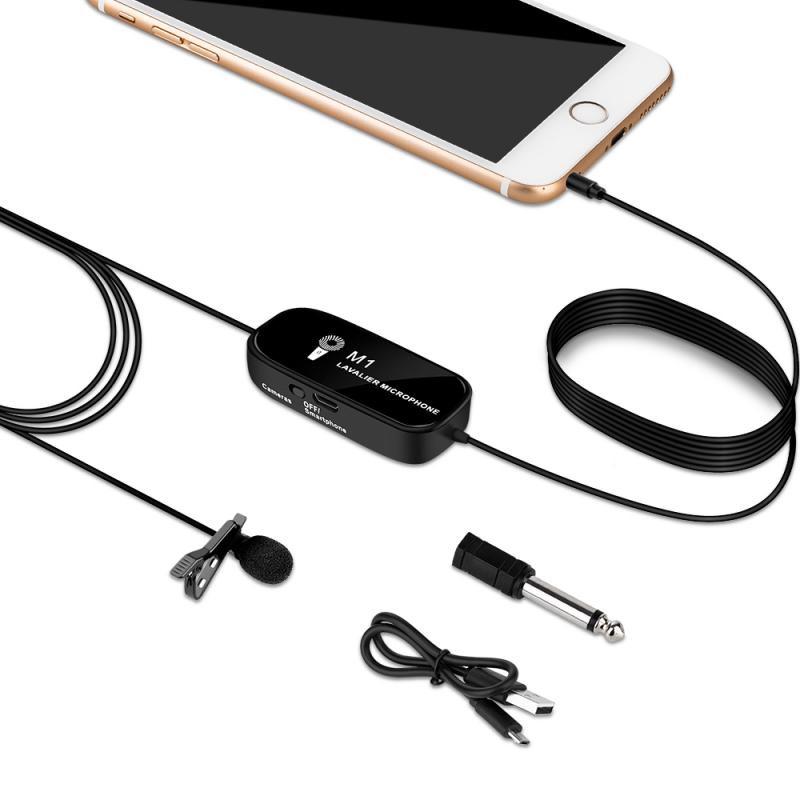
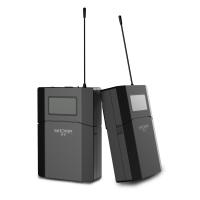
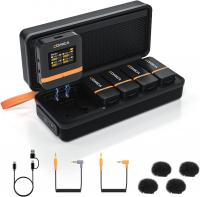
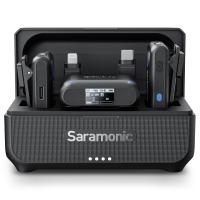
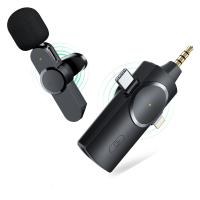
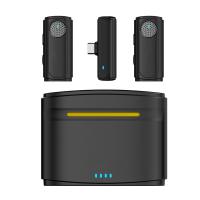
Before diving into the practical steps, it’s essential to understand the basic components and types of lavalier microphones. Lavalier mics typically come in two main types: wired and wireless. Wired lavalier mics connect directly to the recording device or sound system, while wireless lavalier mics use a transmitter and receiver to send audio signals without the need for cables.
Selecting the Right Lavalier Microphone
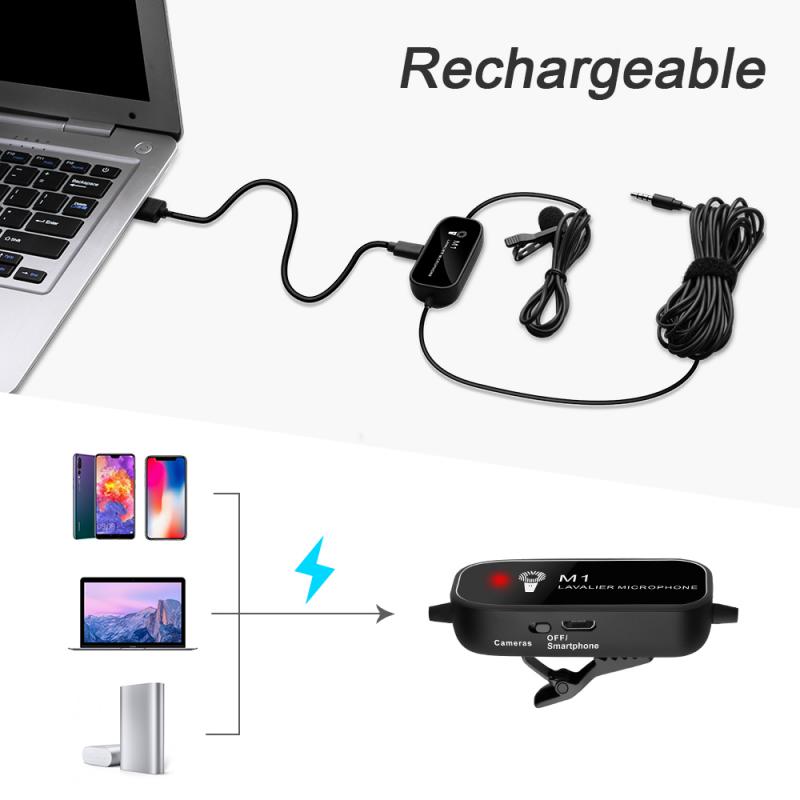
Choosing the right lavalier microphone depends on several factors, including your budget, the environment in which you’ll be recording, and the specific requirements of your project. Here are some key considerations:
1. Budget: Lavalier microphones range from affordable to high-end professional models. Determine your budget and look for a mic that offers the best quality within that range.
2. Environment: Consider the recording environment. If you’ll be recording in a noisy area, look for a lavalier mic with good noise-canceling capabilities.
3. Connection Type: Decide whether you need a wired or wireless microphone. Wireless mics offer more freedom of movement but can be more expensive and require battery management.
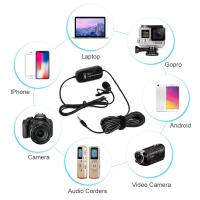
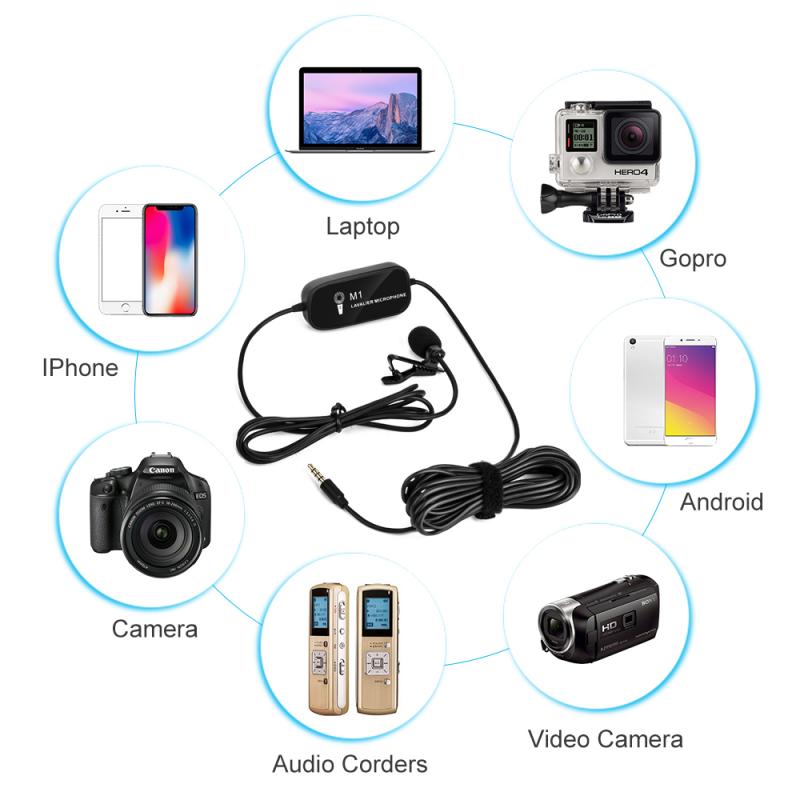
4. Compatibility: Ensure the microphone is compatible with your recording device, whether it’s a camera, smartphone, or audio recorder.
Setting Up a Lavalier Microphone
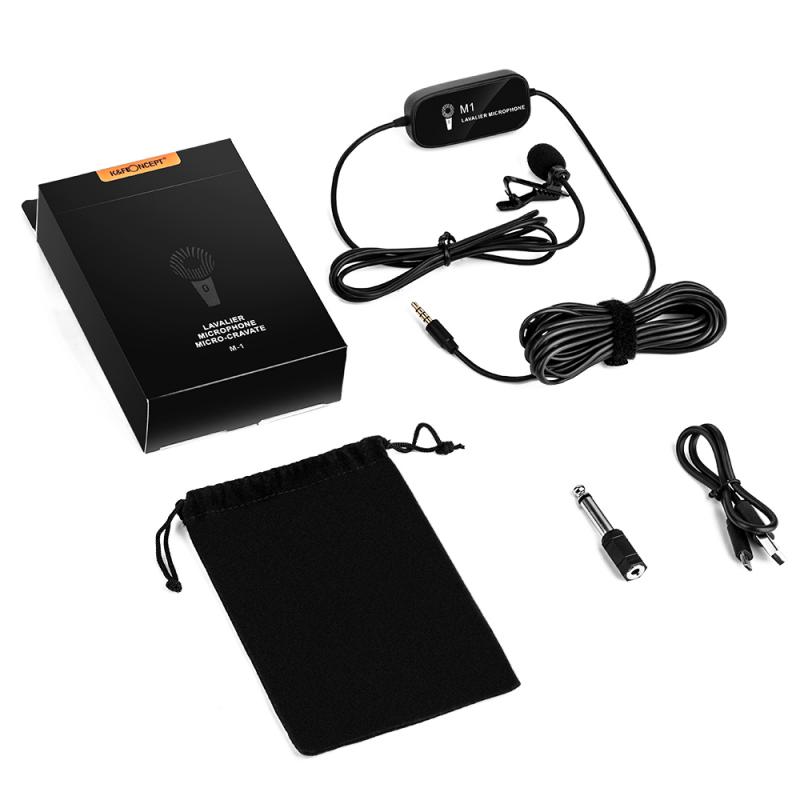
Once you’ve selected the right lavalier microphone, the next step is setting it up correctly. Proper setup is crucial for achieving the best audio quality. Here’s a step-by-step guide:
1. Attach the Microphone: Clip the lavalier microphone to the speaker’s clothing. The ideal placement is about 6-8 inches below the chin, usually on the lapel, collar, or tie. Ensure the mic is securely attached and not rubbing against clothing, which can cause unwanted noise.
2. Position the Cable: If using a wired lavalier mic, run the cable discreetly under the clothing to avoid visible wires and potential interference. For wireless mics, attach the transmitter to the speaker’s belt or waistband.
3. Connect to the Recording Device: Plug the microphone into the recording device. For wireless systems, ensure the transmitter and receiver are properly paired and on the same frequency.
4. Test the Audio: Perform a sound check to ensure the microphone is capturing clear audio. Adjust the placement if necessary to avoid muffled or distorted sound.
Best Practices for Using Lavalier Microphones
To get the most out of your lavalier microphone, follow these best practices:
1. Monitor Audio Levels: Continuously monitor audio levels during recording to ensure consistent sound quality. Use headphones to listen for any issues such as clipping, background noise, or interference.
2. Avoid Handling Noise: Minimize handling noise by securing the microphone and cable properly. Avoid touching the mic or cable during recording.
3. Use Wind Protection: If recording outdoors, use a windscreen or furry cover to reduce wind noise. This is especially important for maintaining clear audio in windy conditions.
4. Battery Management: For wireless lavalier mics, always check battery levels before recording. Carry spare batteries to avoid interruptions during important recordings.
5. Regular Maintenance: Clean the microphone regularly to prevent dust and debris from affecting audio quality. Store the mic in a protective case when not in use.
Troubleshooting Common Issues
Even with proper setup and best practices, you may encounter some common issues when using a lavalier microphone. Here’s how to troubleshoot them:
1. Interference: Wireless lavalier mics can sometimes pick up interference from other electronic devices. To resolve this, try changing the frequency or channel on the transmitter and receiver.
2. Low Audio Levels: If the audio levels are too low, check the microphone placement and ensure it’s not obstructed by clothing. Adjust the input gain on your recording device if necessary.
3. Distorted Sound: Distortion can occur if the microphone is too close to the speaker’s mouth or if the input gain is too high. Move the mic slightly lower and reduce the gain to achieve a clearer sound.
4. Background Noise: If background noise is an issue, consider using a noise-canceling lavalier mic or applying noise reduction filters during post-production.
Advanced Tips for Professional Use
For those looking to achieve professional-level audio quality, here are some advanced tips:
1. Dual Microphone Setup: In critical recordings, use a dual microphone setup with one lavalier mic and one backup mic. This ensures you have a secondary audio source in case of technical issues.
2. EQ and Compression: Use equalization (EQ) and compression during post-production to enhance the audio quality. EQ can help balance the frequencies, while compression can smooth out volume variations.
3. Directional Lavalier Mics: Consider using directional lavalier mics for better isolation of the speaker’s voice. These mics are designed to pick up sound from a specific direction, reducing background noise.
4. Professional Monitoring: Invest in high-quality monitoring headphones and audio interfaces to accurately assess the audio quality during recording and editing.
Lavalier microphones are invaluable tools for capturing clear and professional audio in a variety of settings. By selecting the right microphone, setting it up correctly, and following best practices, you can ensure high-quality recordings every time. Whether you’re a content creator, public speaker, or filmmaker, mastering the use of lavalier microphones will significantly enhance your audio production capabilities. Remember to troubleshoot common issues promptly and consider advanced techniques for professional results. With these tips, you’ll be well-equipped to make the most of your lavalier microphone and achieve exceptional audio quality in your projects.


