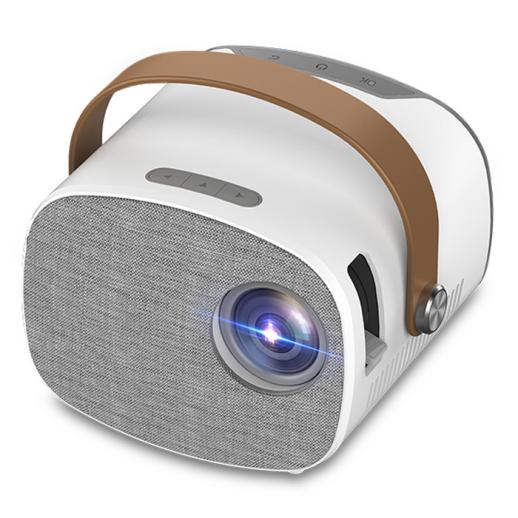
How To Use Projector With Laptop?
Using a projector with a laptop can significantly enhance presentations, movie nights, and even gaming experiences. However, many users often face challenges when trying to connect and configure their devices. This article aims to provide a comprehensive guide on how to use a projector with a laptop, addressing common issues and offering practical solutions.

Understanding the Basics
Before diving into the step-by-step process, it's essential to understand the basic components and connections involved. A projector is an output device that projects images, videos, or presentations onto a larger screen or surface. Laptops, on the other hand, are versatile computing devices that can serve as the source of the content to be projected.
Types of Connections
There are several ways to connect a laptop to a projector, depending on the available ports on both devices. The most common types of connections include:
1. HDMI (High-Definition Multimedia Interface): This is the most common and straightforward connection type, offering high-quality audio and video transmission.
2. VGA (Video Graphics Array): An older but still widely used connection type, primarily for video transmission.
3. USB-C: Modern laptops often come with USB-C ports that can transmit both audio and video.
4. Wireless: Some projectors and laptops support wireless connections via Wi-Fi or Bluetooth.
Step-by-Step Guide to Connecting a Projector to a Laptop
Step 1: Check Compatibility
Ensure that both your laptop and projector have compatible ports. If they don't, you may need an adapter. For example, if your laptop has an HDMI port but your projector only has a VGA port, you'll need an HDMI-to-VGA adapter.
Step 2: Turn Off Both Devices
Before making any connections, turn off both the laptop and the projector. This precaution helps prevent any potential damage to the devices.
Step 3: Connect the Devices
- HDMI Connection: Plug one end of the HDMI cable into the laptop's HDMI port and the other end into the projector's HDMI port.
- VGA Connection: Connect one end of the VGA cable to the laptop's VGA port and the other end to the projector's VGA port. If you're using an adapter, connect it to the appropriate port on your laptop first.
- USB-C Connection: Use a USB-C to HDMI or USB-C to VGA adapter if necessary, and connect it to the projector.
- Wireless Connection: Follow the manufacturer's instructions for setting up a wireless connection. This usually involves connecting both devices to the same Wi-Fi network and using a specific app or software.
Step 4: Turn On the Devices
Turn on the projector first, followed by the laptop. This sequence helps the laptop recognize the projector as an external display.
Step 5: Configure Display Settings
Once both devices are on, you may need to configure the display settings on your laptop. Here's how to do it for different operating systems:
- Windows:
1. Press `Windows + P` to open the display options.
2. Choose from the following options:
- PC screen only: Only the laptop screen will be active.
- Duplicate: The same content will be displayed on both the laptop and the projector.
- Extend: The projector will act as an extended screen, allowing you to drag windows between the laptop and the projector.
- Second screen only: Only the projector will display content.
3. Select the desired option and adjust the resolution if necessary.
- MacOS:
1. Click on the Apple menu and go to `System Preferences`.
2. Select `Displays`.
3. Click on the `Arrangement` tab.
4. Choose between `Mirror Displays` (duplicate) or `Use as Separate Display` (extend).
5. Adjust the resolution if needed.
Step 6: Adjust Projector Settings
Most projectors have settings that allow you to adjust the image quality, aspect ratio, and other parameters. Use the projector's remote control or onboard buttons to navigate through the menu and make the necessary adjustments.
Troubleshooting Common Issues
Despite following the steps, you may encounter some issues. Here are common problems and their solutions:
1. No Signal: Ensure that the cables are securely connected and that the correct input source is selected on the projector.
2. Blurry Image: Adjust the focus ring on the projector and ensure that the projector is at the correct distance from the screen.
3. No Sound: If you're using an HDMI connection, ensure that the audio output is set to the projector in your laptop's sound settings. For VGA connections, you'll need a separate audio cable.
4. Display Not Detected: Restart both devices and try reconnecting the cables. Ensure that your laptop's graphics drivers are up to date.
Advanced Tips
For those looking to optimize their setup further, here are some advanced tips:
1. Use a Presentation Remote: A presentation remote can make it easier to navigate through slides without being tethered to your laptop.
2. Adjust Keystone Correction: Keystone correction helps align the projected image if the projector is not perfectly perpendicular to the screen.
3. Optimize for Ambient Light: Use blackout curtains or dim the lights to improve image visibility in bright rooms.
4. Regular Maintenance: Clean the projector's lens and air filters regularly to maintain optimal performance.
Connecting a projector to a laptop can seem daunting, but with the right knowledge and tools, it becomes a straightforward task. By following the steps outlined in this guide, you can ensure a smooth and efficient setup, whether you're preparing for a business presentation, a movie night, or a gaming session. Remember to check compatibility, use the appropriate cables, and configure the display settings to suit your needs. With these tips and solutions, you'll be well-equipped to make the most out of your projector and laptop setup.
