How To Use Wireless Lavalier Microphone?
Wireless lavalier microphones, also known as lapel mics, are essential tools for many professionals, including public speakers, broadcasters, and content creators. These compact and discreet microphones offer the freedom of movement and high-quality audio capture, making them ideal for various applications. In this article, we will explore the practical aspects of using a wireless lavalier microphone, from setup to troubleshooting, ensuring you can make the most of this versatile equipment.
Understanding Wireless Lavalier Microphones

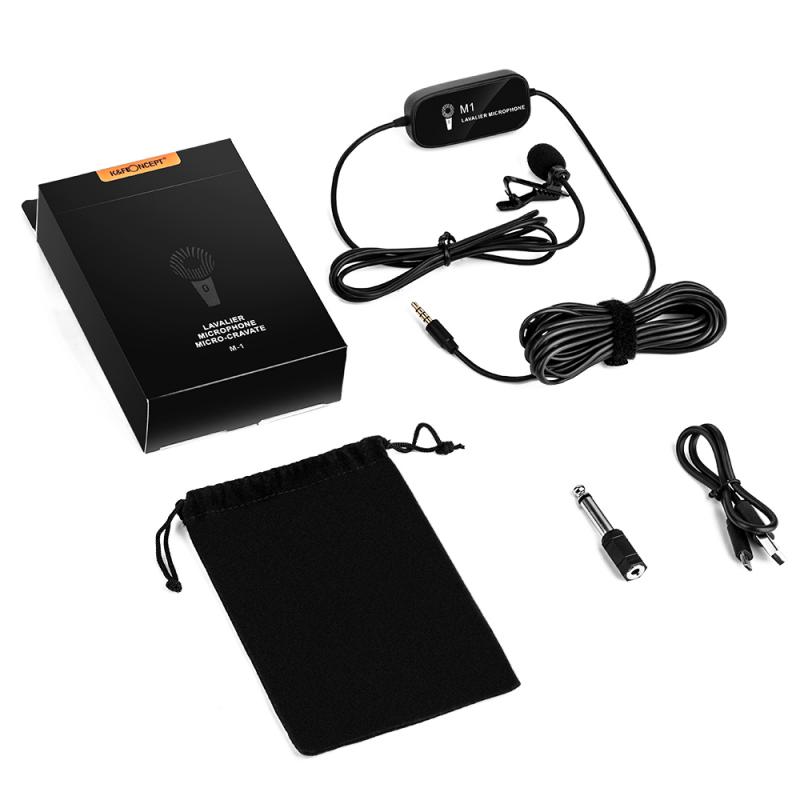
Before diving into the setup and usage, it's important to understand the basic components of a wireless lavalier microphone system. Typically, the system includes:
1. Lavalier Microphone: A small, clip-on microphone that captures audio.
2. Transmitter: A device that sends the audio signal from the microphone to the receiver.
3. Receiver: A device that receives the audio signal from the transmitter and outputs it to a recording device or sound system.
4. Cables and Accessories: Various cables and accessories for connecting the system to other devices.
Step-by-Step Guide to Using a Wireless Lavalier Microphone

1. Unboxing and Initial Setup
When you first unbox your wireless lavalier microphone system, ensure that all components are present and in good condition. Familiarize yourself with each part and read the user manual for specific instructions related to your model.
2. Powering the Devices
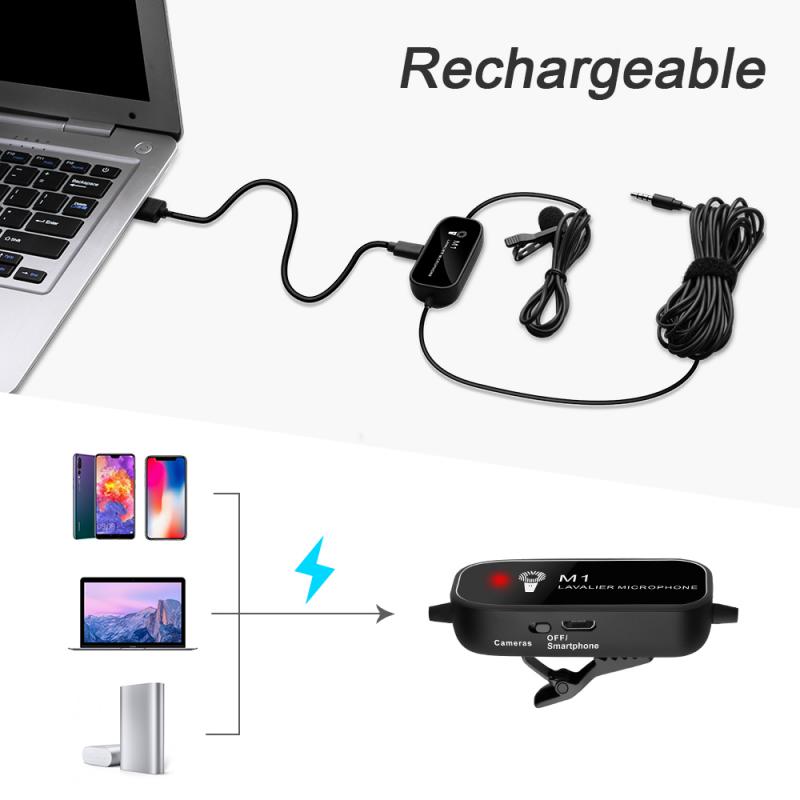
Both the transmitter and receiver require power to operate. This can be provided by batteries or a rechargeable power source. Ensure that both devices are fully charged or have fresh batteries installed. Some systems come with a charging dock or USB charging options.
3. Connecting the Microphone to the Transmitter
Attach the lavalier microphone to the transmitter. This usually involves plugging the microphone's cable into the transmitter's input jack. Secure the connection to prevent any accidental disconnections during use.
4. Positioning the Microphone
Clip the lavalier microphone to your clothing, ideally near the chest area. The microphone should be positioned close enough to capture clear audio but not so close that it picks up excessive noise from clothing or breathing. Ensure the microphone is not obstructed by fabric or accessories.
5. Setting Up the Receiver
Place the receiver near your recording device or sound system. Connect the receiver to the input of your recording device using the appropriate cables. This could be an XLR cable, a 3.5mm jack, or another type of connector, depending on your equipment.
6. Pairing the Transmitter and Receiver
Turn on both the transmitter and receiver. Most wireless systems will automatically pair the devices, but some may require manual pairing. Refer to your user manual for specific pairing instructions. Ensure that both devices are set to the same frequency or channel to establish a clear connection.
7. Adjusting Audio Levels
Once the transmitter and receiver are paired, adjust the audio levels. Start with the transmitter's gain control, setting it to a moderate level. Then, adjust the receiver's output level to match the input sensitivity of your recording device. Monitor the audio levels to avoid clipping or distortion.
8. Testing the System
Perform a test recording or sound check to ensure everything is working correctly. Speak at a normal volume and move around to test the range and stability of the wireless connection. Listen to the playback to check for any issues such as dropouts, interference, or poor audio quality.
Troubleshooting Common Issues

Even with a well-setup system, you may encounter some common issues. Here are a few troubleshooting tips:
1. Interference and Dropouts
Wireless systems can be susceptible to interference from other electronic devices or radio frequencies. If you experience dropouts or static, try changing the frequency or channel on both the transmitter and receiver. Ensure there are no large metal objects or electronic devices between the transmitter and receiver.
2. Poor Audio Quality
If the audio quality is poor, check the microphone placement and ensure it is not obstructed. Adjust the gain settings on the transmitter and receiver to avoid distortion. Ensure all connections are secure and that the microphone is not damaged.
3. Battery Issues
If the devices are not powering on or are losing power quickly, check the batteries. Replace them with fresh ones or ensure they are fully charged. Some systems have battery indicators to help monitor power levels.
Best Practices for Optimal Performance

To get the best performance from your wireless lavalier microphone, consider the following best practices:
1. Regular Maintenance
Keep your equipment clean and well-maintained. Regularly check for any wear and tear on cables and connectors. Clean the microphone and transmitter with a soft, dry cloth to remove any dust or debris.
2. Proper Storage
Store your wireless system in a protective case when not in use. Avoid exposing the equipment to extreme temperatures or moisture, as this can damage the components.
3. Frequency Management
In environments with multiple wireless systems, manage frequencies carefully to avoid interference. Some advanced systems offer automatic frequency selection to help with this.
4. Professional Monitoring
During live events or important recordings, have a professional monitor the audio levels and quality. This allows for real-time adjustments and ensures the best possible audio capture.
Using a wireless lavalier microphone can greatly enhance the quality and flexibility of your audio recordings. By following the steps outlined in this guide, you can set up and use your wireless system effectively, troubleshoot common issues, and maintain your equipment for long-term use. Whether you're a seasoned professional or a beginner, understanding the intricacies of wireless lavalier microphones will help you achieve clear, high-quality audio in any setting.
