K&F Concept ND Filter Review
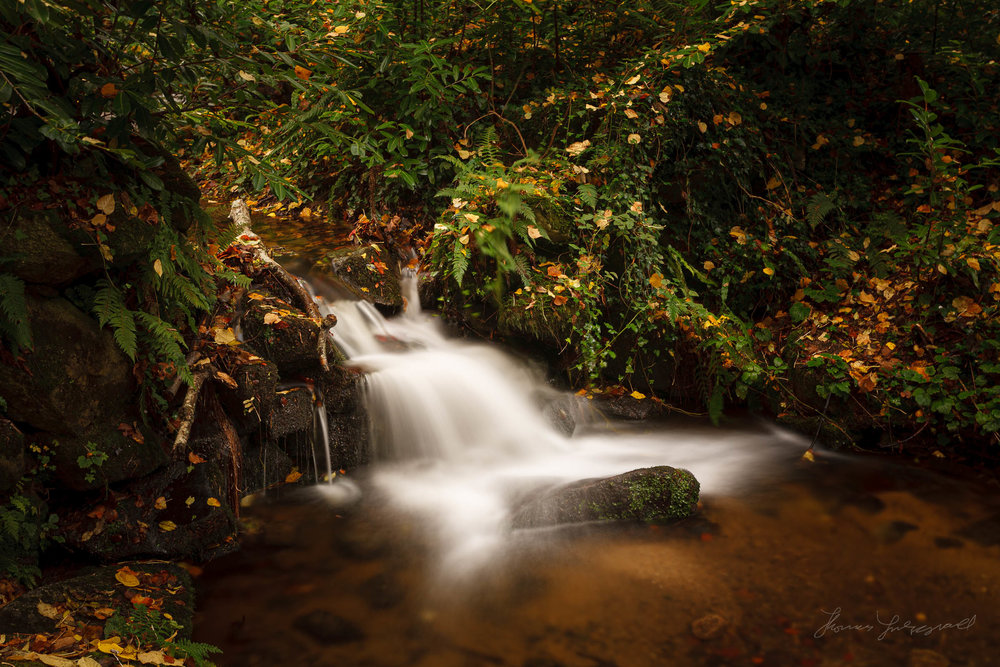
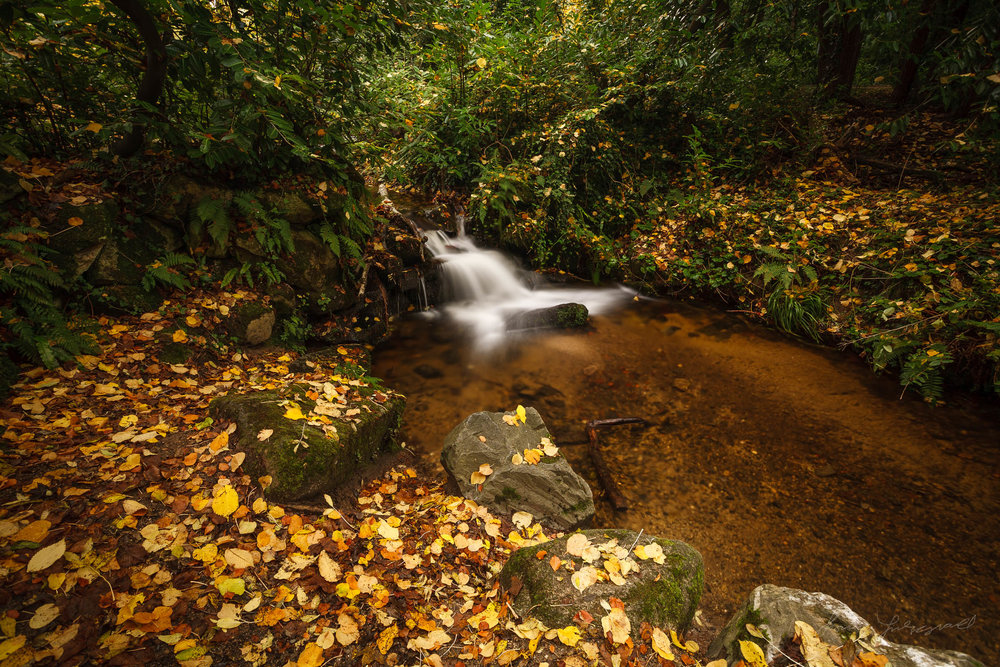 In this second part of my review of K&F Concept’s new filters, I look at the two Variable ND filters the company sent me to try out. Both filters are variable neutral density filters, and they were of two different ranges of ND. To test them out, I set out to try capturing some long exposures in a large park near where I live.
Filter Design
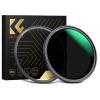
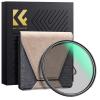
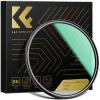
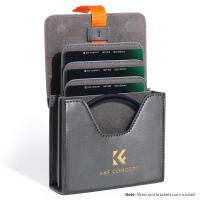
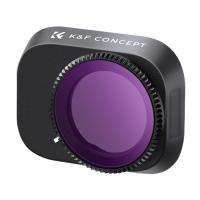
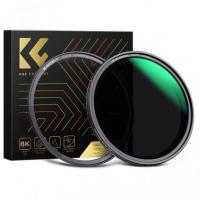
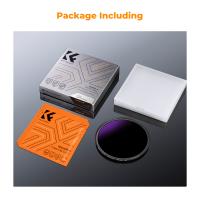
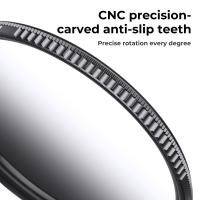
Both filters are identical in design, with the only difference being the amount of ND each does. One is rated at ND2 - 32 (2 to 5 stops of ND) and the other is rated at ND 8 - 128 (3 stops to 7 stops of ND). Both are made of nano-coated optical glass, and the construction is strong and light as with the other filters I reviewed. They come with a regular plastic case with a foam backing, so not the fancy rubberized case of the other filters
The only issue I have with them is that they both look identical. There is no marking on the actual filters to tell you which one is which, and you have to actually look through them to see which is the darker one. The filters I was using were 77mm, but they come in a range of sizes from 52mm to 82mm.

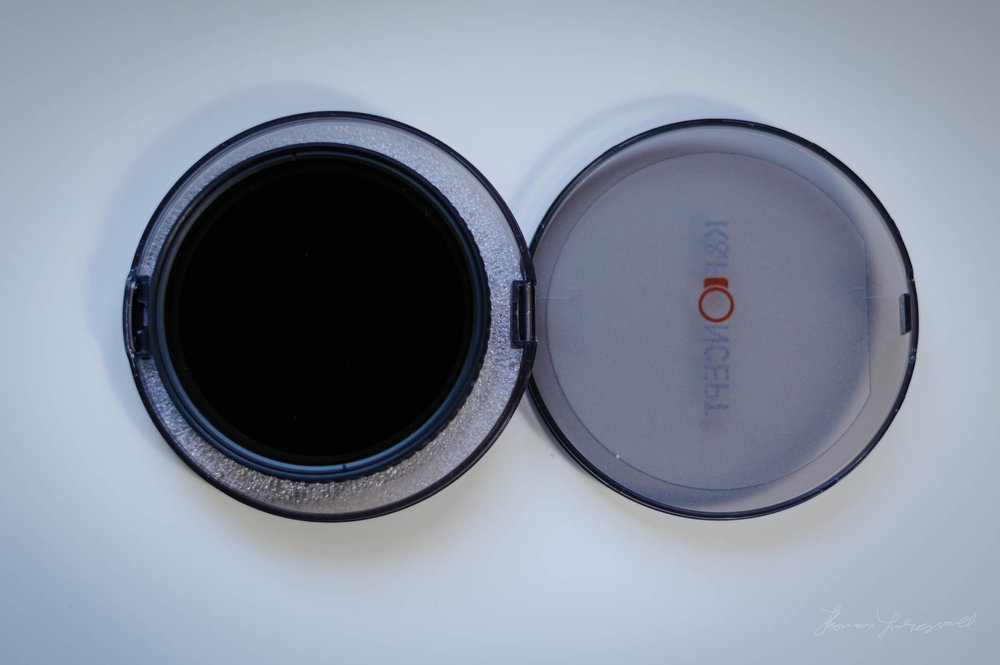

The way most Variable ND filters work is by having two polarizing elements, one of which rotates. As the front element rotates, the polarisation angles cross and they let in less and less light. This is true of all variable ND designs. However, these use a special design to eliminate the cross effect that can occur with some ND filters.
In Use
To test these out I decided to use my old Canon 5D and 17-40mm lens and take some pictures of the streams and waterfalls in a local park. As autumn was in full swing now, the colors of the park were a rich red, and the weather was suitably dull to make for a moody landscape.
To use the filters, you simply attach them to the lens and rotate the front element to control the degree of darkening. With the lighter of the two filters, I was getting a range between one of a second and about 4 seconds with my lens set at f8 and the iso set to 100. With the darker filter, it was giving me as long as 30 seconds. This is of course not a scientific measurement and was influenced by the light in the park too, but it gives you a rough idea.
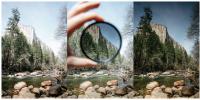
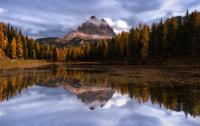
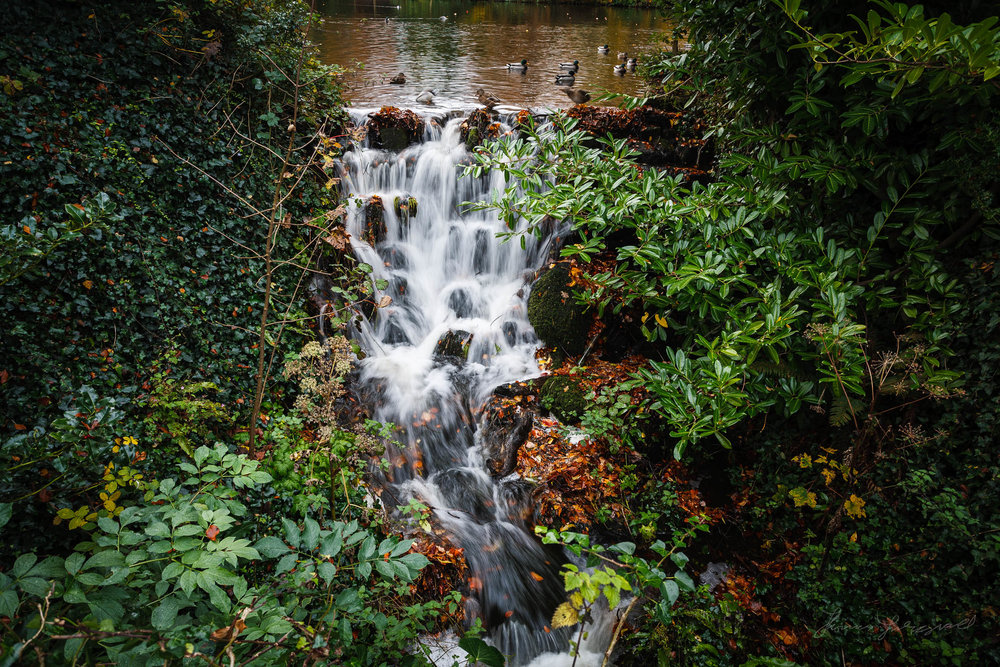
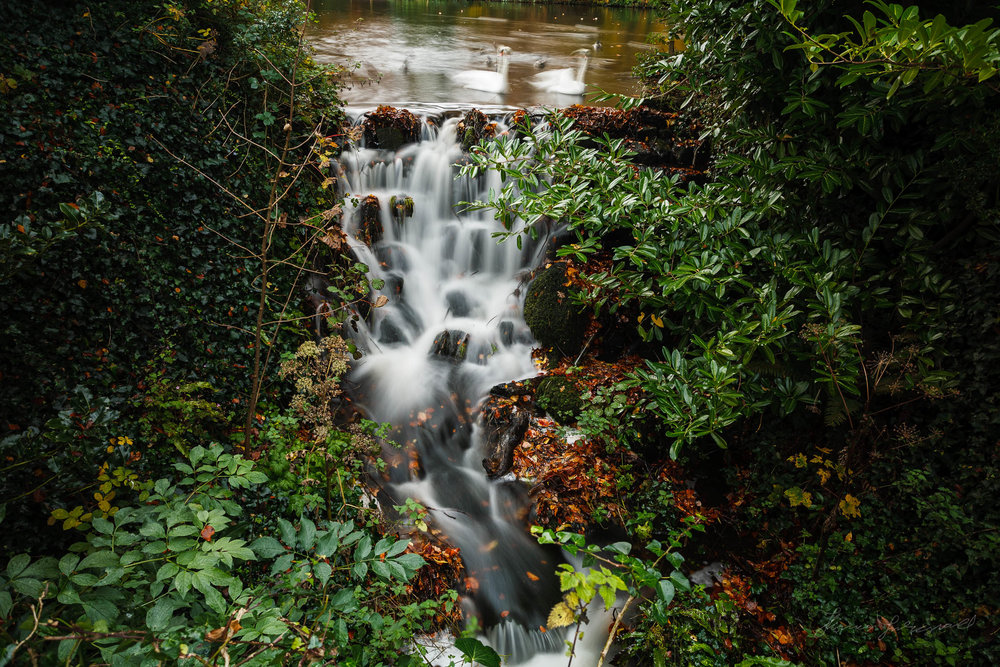
Here is an example with and without the ND filter.
Results
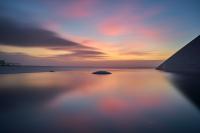
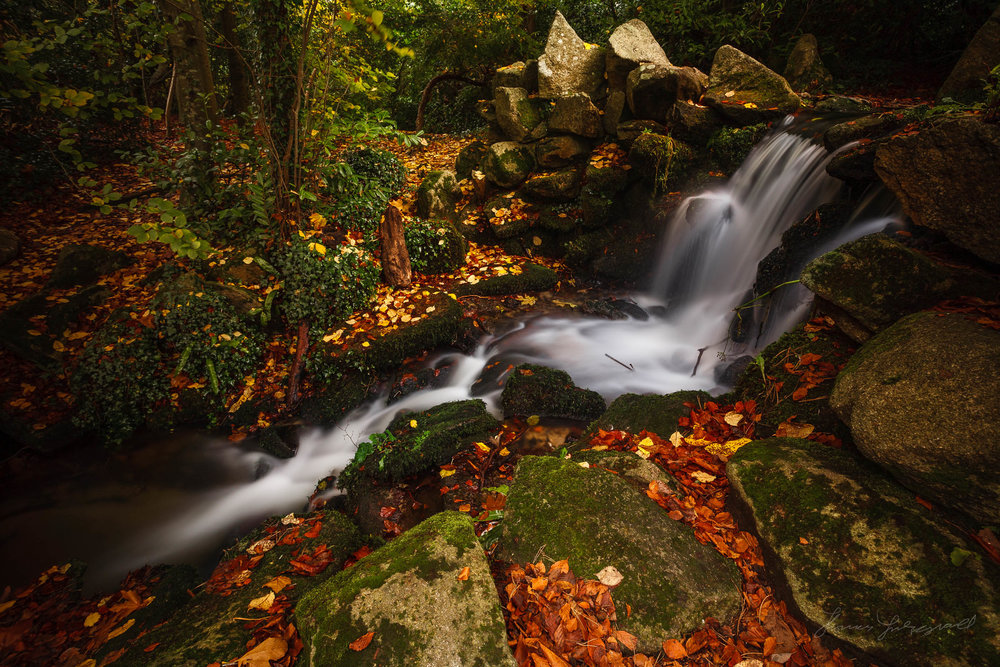
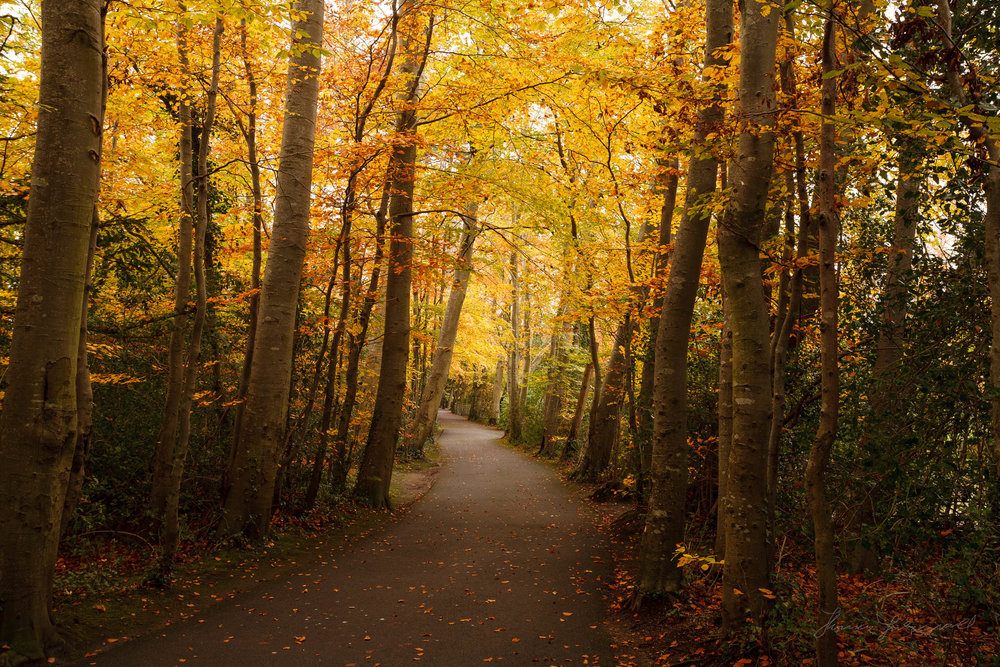
While the trick of doing a long exposure with a waterfall might be a bit cliched, there are other benefits of long exposures too. On the surface of the small lake in the park, the long exposures smooth out the ripples and create a surreal glass-like effect. They also turn the ducks on the pond almost into ghost-like creatures! Even just on the leaves in the avenues of the park they created a ghostly glow because they were blowing in the wind slightly (it was actually pretty still) it created a surreal effect and it eliminated a person that walked past in the distance at one point. Below are some examples the using the ND filters.




There are other uses for ND filters apart from long exposures. If you are shooting with a very fast lens (f/1.4 for example) and you are in very bright sunshine, you often won’t be able to stop down far enough to shoot wide open depending on the camera's maximum shutter speed. Using an ND will allow you to get around this problem. They are also useful for video work, where you need to set specific shutter speeds, and the lighting conditions won’t let you use a lower setting, you can use an ND to compensate.
Conclusion
As I mentioned in the first part of this set of reviews, reviewing filters is a little tricky, ad they pretty much have one function. These filters performed as expected and allowed me to create some nice long-exposure effects. They are well made and I couldn’t see any major color shifts. The only issue I had was telling them apart, so if you have both of these, you might need to put some kind of identifying mark on them. But they are good quality and they do what they’re supposed to do. They are fairly inexpensive too for variable ND filters coming in at around $60 for the 77mm versions I was using.

